Creating a Conda Installer for NILMTK during SRIP @ IIT- GN
The Non-Intrusive Load Monitoring Toolkit (NILMTK) helps in analyzing energy data collected in different formats by converting it to a standardized NILMTK-DF using dataset parsers and then providing benchmarking disaggregation algorithms plus comparing the performances of those algorithms using accuracy metrics.

Find original post at- https://sustainability-lab.github.io/2019/05/19/creating-conda-installer.html
- Given the recurring installation issues of the package (especially on Windows), an important step forward towards the future releases of the package was to have a conda or pip installation of the package available to ease accessibility of the library. This would help focus the attention of the community to more of the core issues.
We were new to building packages for distribution, so we started by understanding the build process for python packages. The main NILMTK package had another dependency that was NILM specific, called the nilm_metadata. NILMTK was based on noarch architecture and so was platform independent, whereas nilm_metadata was platform dependent. So our aim was to build two python packages, with nilm_metadata being a dependency of NILMTK, so that ultimately the user only had to install NILMTK. This would reduce the current multiple step process of cloning the git repository of both the packages and installing them manually to a simple conda install command.
Some past efforts to get a stable conda build helped us get a head start towards creating a build that works on all platforms. Building a conda package requires installing conda build and creating a conda build recipe. You then use the conda-build command to build the conda package from the conda recipe.
Installing conda-build
conda install conda-buildCreating a conda-recipe for your package
A conda recipe consists of two parts - a meta.yaml file that contains the metadata such as package name, package version, host requirements, etc to assist the build. It is a convention to create a recipe or conda.recipe directory inside your main package to store the recipe files.
We already had a skeleton recipe available, but is easy to obtain one using:
Existing recipes
https://github.com/AnacondaRecipes
https://github.com/conda-forgeSkeletons from other repositories (PyPI, CRAN, CPAN, RPM)
conda skeleton pypi <package name on pypi>
orconda skeleton cran <name of pkg on cran>When all else fails, write a recipe Only required section:
package: name: abc version: 1.2.3
Listing the package dependencies
The requirements section of the meta.yaml is where you list out all your dependencies.Build requirements
Tools to build packages with; things that don’t directly go into headers or linking
Compilers
autotools, pkg-config, m4, cmake
archive toolsHost requirements
External dependencies for the package that needs to be present at build time
Headers, libraries, python/R/perl
Python deps used in setup.py
Not available at runtime, unless also specified in run sectionRun requirements
Things that need to be present when the package is installed on the end-user system
Runtime libraries
Python dependencies at runtime
Not available at build time unless also specified in build/host section
Note: Make sure you have listed out the correct version of your dependencies as future releases of those packages may cause incompatibility issues.
Creating the build files for the package
The files required for building are the build.sh (Unix) or bld.bat (Windows) which consists of the actual commands to be executed during the building process.Note: Filenames are of paramount importance here.
All we need to do is execute the setup.py file. The commands are slightly different depending on the version. Our files contained:
- build.sh
$PYTHON setup.py install --single-version-externally-managed --record=record.txt - bld.bat
"%PYTHON%" setup.py install --single-version-externally-managed --record=record.txt if errorlevel 1 exit 1
- build.sh
Building the package Change your directory to location of your recipes and run
conda build .
A successful build will give you the path to your newly built package and the command to upload it to anaconda-cloud.anaconda upload <path of the tar.z2 file>
Login to your anaconda-cloud account or signup to create your own channel, and enter your login credentials during the upload prompt.
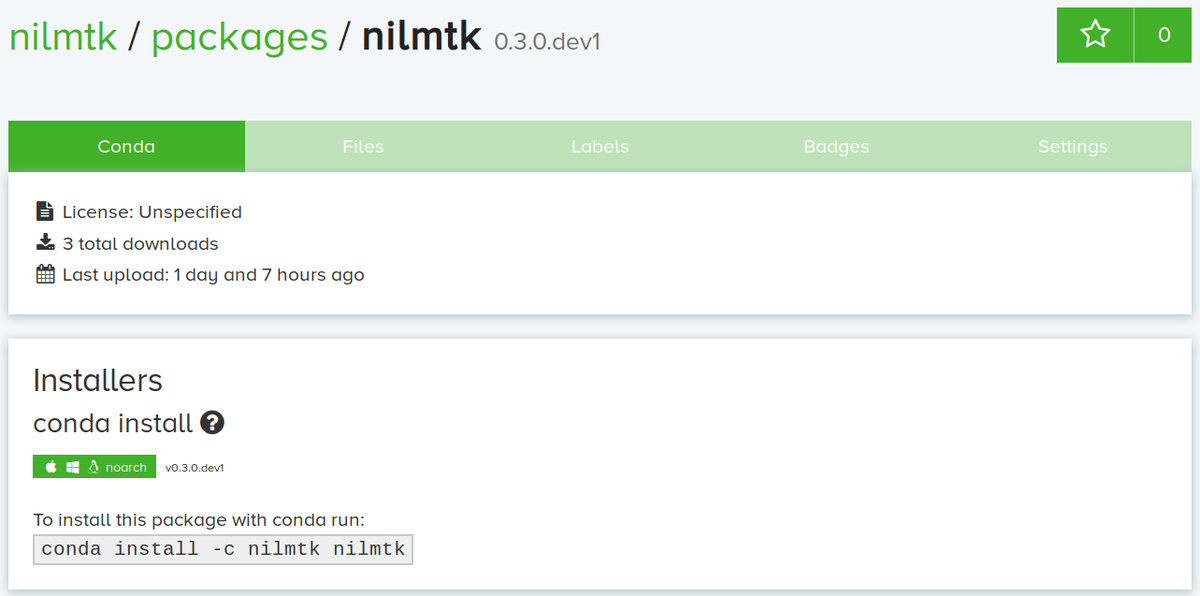
You can now checkout your anaconda-cloud page for your package. This here is the new NILMTK page.

We also learned the process to upload the package on PyPI, which was much simpler. The following documentation was very helpful in gaining insight into the pip packaging process:
Packaging Python Projects
We also came across a method that allows for creating a conda installer of any package from an existing pip installer of the same package. So if you have an existing pip installer for your package, you can use a simple shell script that creates the skeleton recipes for your python version from the pip installer of the package, converts the package for other platforms and uploads it to anaconda cloud. Checkout the following blog for learning more about this process.
Build a conda package from an existing PyPI package
References
Developing Article